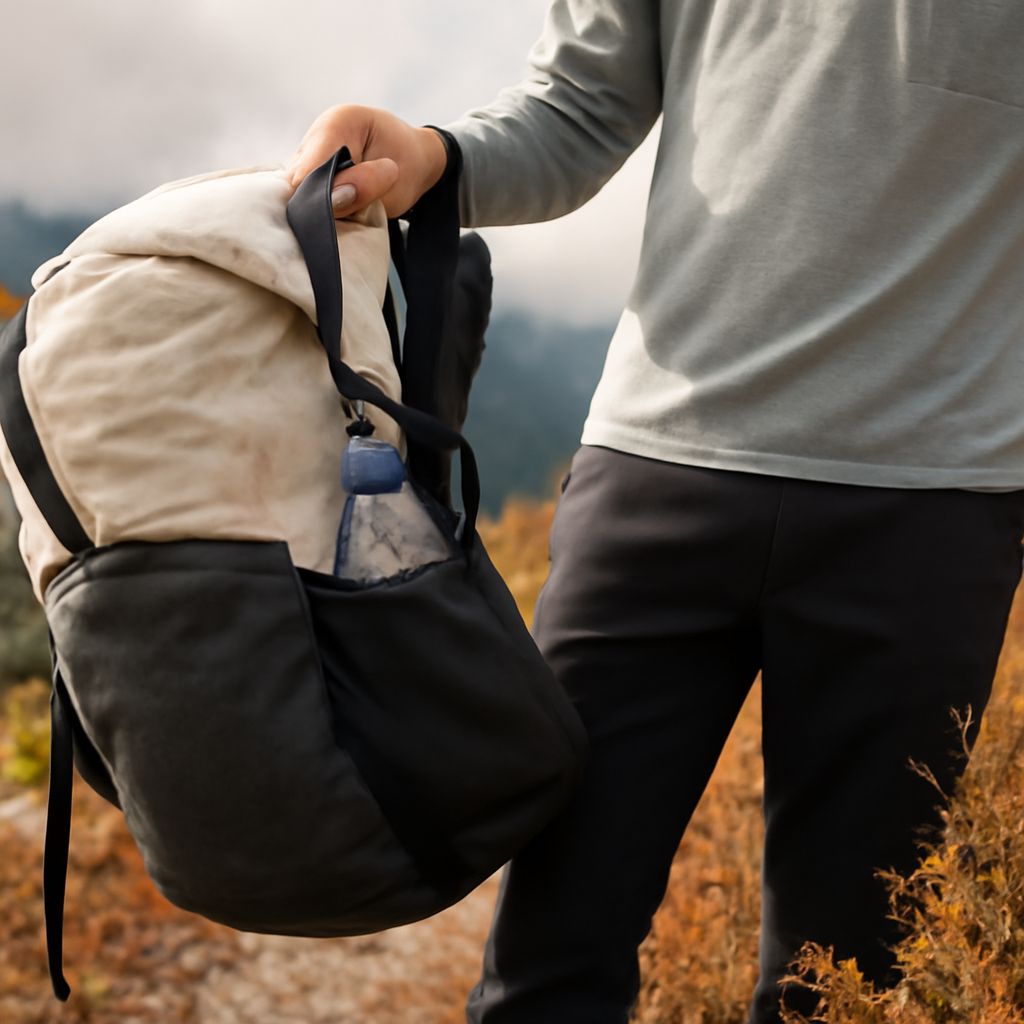
A super ultralight backpacking gear list works when it protects every function the route requires while removing duplicate tools and excess capacity. The right target is the lightest complete system for the weather, terrain, water sources, food carries, and emergency margin—not an arbitrary base-weight number.
Build the kit before choosing the pack. Once shelter, sleep equipment, clothing, consumables, and safety items are known, the final volume and loaded weight show whether a frameless pack, lightweight framed pack, or more supportive model is appropriate.
Build a super ultralight backpacking gear list
Start with the route rather than a predetermined weight. Check the lowest expected temperature, precipitation, wind exposure, resupply distance, water availability, campsite regulations, and navigation difficulty. These details determine which functions need redundancy and which items can be simplified.
- List required functions. Include shelter, sleep, carry, clothing, water, food, navigation, lighting, and basic emergency care.
- Assign one primary item to each function. Record its packed size, weight, and any parts it requires, such as stakes, fuel, batteries, or repair materials.
- Test the complete system. Pack it at home, confirm that it fits, and adjust only after identifying genuine duplication or unused capacity.
Check Shelter, Sleep, Carry, Clothing, Water, Food, Navigation, and Emergency Functions
A selective checklist can remain complete without carrying a separate tool for every possible inconvenience.
- Shelter: Use a tent, tarp, or hammock system suited to the route, with the necessary poles, lines, stakes, and ground protection. Do not remove weather protection to reach a lower number.
- Sleep: Carry a sleeping bag or quilt rated for expected conditions, an insulated pad, and only the clothing needed for warmth and dryness at night.
- Carry: Choose a pack, liner or dry bags, and a method for organizing frequently used items. The pack must protect the load from rain and support its actual weight.
- Clothing: Build around a moisture-managing base layer, insulation, rain protection, hiking clothing, spare socks, and suitable hand and head coverage.
- Water: Combine enough capacity for the longest dry stretch with a filter or treatment method. Add a backup method when the route or water quality warrants it.
- Food: Pack calorie-dense meals, a stove and fuel when cooking is required, a pot or cup, and a lighter. Cold meals can remove several cooking items if the route and preferences allow.
- Navigation: Carry a map and compass, plus a charged GPS device or phone when useful. Protect electronics and know how to navigate if the battery fails.
- Emergency: Include a small first-aid kit, repair supplies for the shelter and sleep system, headlamp, power backup when needed, communication device, and an emergency layer or bivy appropriate to exposure.
Reduce Backpacking Gear Safely: Remove Duplication, Keep Core Functions
Weight reduction has the greatest effect when it removes an entire item or replaces a heavy item with a lighter one that performs the same job. It should not eliminate a function the route depends on.
- Replace a sleeping bag with a quilt when the sleeper can manage drafts and the temperature rating remains appropriate.
- Use one pot as both cookware and eating vessel, or skip cookware for meals that need no heating.
- Share shelter components only when every user has an agreed backup plan and the arrangement suits the weather.
- Carry one versatile insulation layer instead of several overlapping midlayers, while retaining rain protection.
- Remove duplicate knives, cups, utensils, cordage, batteries, and containers after checking that none has a separate safety role.
High-impact substitutions usually include a lighter shelter, sleep system, pack, or insulation piece. Small hardware changes matter less than carrying less food packaging, excess clothing, or unused capacity. Keep route-specific items even if they increase base weight.
Fit women’s backpacking packs by torso length, hip-belt fit, harness shape, volume, and load range
Women’s backpacking packs often use a shorter or adjustable torso range, a contoured shoulder harness, narrower spacing, and a hip belt shaped for different body proportions. Those features can improve comfort, but body shape varies; fit matters more than the label.
- Measure torso length. Measure from the prominent vertebra at the base of the neck to the top of the hip bones, then compare that measurement with the pack’s adjustment range. The shoulder straps should follow the body without gaps.
- Set the hip belt first. With the pack loaded, center the belt over the iliac crest and tighten it firmly without restricting breathing. Most of the load should rest on the hips, not the shoulders.
- Check harness shape. The shoulder straps should curve smoothly around the chest, avoid breast tissue, and leave room for arm movement. Set the sternum strap high enough to stabilize the harness without compressing the chest.
- Match volume. Select enough room for the packed shelter, sleep system, food, water, bear canister if required, and wet-weather storage. A smaller pack is useful only when the complete kit fits without unsafe external loading.
- Match load range. Compare the finished loaded weight—not the advertised pack capacity—with the manufacturer’s comfortable range. Test the pack with the real load, walk, and adjust torso length, hip belt, shoulder straps, and load lifters before committing.