A compact overnight load starts with shelter, sleep, water, food, navigation, light, clothing, and first aid. A backpacking camera bag can fit into that system, but camera access and protection should never replace a sleeping pad, insulation, water treatment, or other core function.
For most beginners, the practical target is a complete overnight kit carried in the lightest reliable version of each category. Pack shared items by group, then select camera and cooking equipment around the route, weather, party size, and menu.
Pack a backpacking gear list for beginners: overnight essentials
The following backpacking gear list for beginners covers one overnight trip. Shared shelter and cooking equipment can be divided among the group, while each person should carry personal insulation, water, clothing, and emergency items.
- Shelter: Tent or tarp with stakes, guylines, and a groundsheet if the shelter requires one. Include a footprint only when it protects the floor or simplifies setup.
- Sleep: Sleeping bag or quilt rated for the expected low temperature, sleeping pad, and a pillow or packed clothing. The pad provides insulation as well as comfort.
- Clothing: Moisture-managing hiking clothes, warm insulating layer, rain jacket and trousers when needed, dry sleep clothes, spare socks, hat, and gloves for cool conditions.
- Water: Bottles or a reservoir, a filter or chemical treatment, and enough capacity for the longest dry stretch. Carry extra capacity when sources are uncertain.
- Navigation: Paper map, compass, and a phone or GPS device with an offline route. Keep the map and electronics protected from rain.
- Light: Headlamp with fresh or spare batteries. A phone light is a backup, not the primary trail light.
- Food: Calorie-dense meals and snacks, packed in a leak-resistant bag. Include a small margin for delays rather than carrying a large selection of extras.
- First aid and repair: Blister treatment, adhesive bandages, gauze, tape, pain relief, personal medication, a small multitool, repair tape, cord, and a lighter.
Put frequently used items in hip-belt pockets or the pack’s side pockets: water, snacks, navigation, rainwear, and first aid. Store the sleeping bag and spare clothing in waterproof liners or dry bags. Heavy items such as food, water, and cooking fuel should sit close to the back and near the pack’s center, not at the bottom or far outside.
Carry and protect camera equipment in a backpacking camera bag
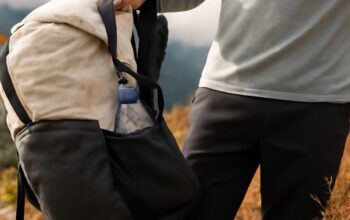
Camera carry is a choice between access and protection. A padded insert inside the main backpack is the lightest option and balances well, but reaching the camera usually requires removing the pack. A chest or shoulder camera pouch gives immediate access while walking, although it can interfere with trekking poles, hip-belt pockets, or shoulder straps. A dedicated camera pack offers the most organized padding but may duplicate the support system and consume space needed for overnight gear.
- Access: Use a chest-mounted or shoulder-mounted pouch for frequent landscape or wildlife shooting. Choose an internal insert when the camera is used mainly at stops.
- Padding: Protect the camera body and lenses with a fitted insert, lens caps, and dividers that prevent movement. Avoid loose gear in an unpadded top pocket.
- Weather protection: Use a sealed insert or dry bag inside the pack, plus a rain cover for the outer backpack. A rain cover alone may leave camera equipment exposed at the pack opening.
- Attachment: Secure pouches to both shoulder straps or to a stable sternum system. Check that clips cannot detach when the pack is set down or brushed against rock.
- Load balance: Keep the heaviest camera body and lens close to the spine, between the shoulders and hips. Large lenses mounted on one side can pull the pack off balance and cause shoulder fatigue.
Carry only the camera, one versatile lens, spare battery, memory card, and a small cleaning cloth unless the trip specifically requires more. A padded insert can also protect equipment from cookware, fuel bottles, and tent stakes; those hard or dirty items should remain separated even when the camera is well padded.
Choose a backpacking cookset for party size and meals
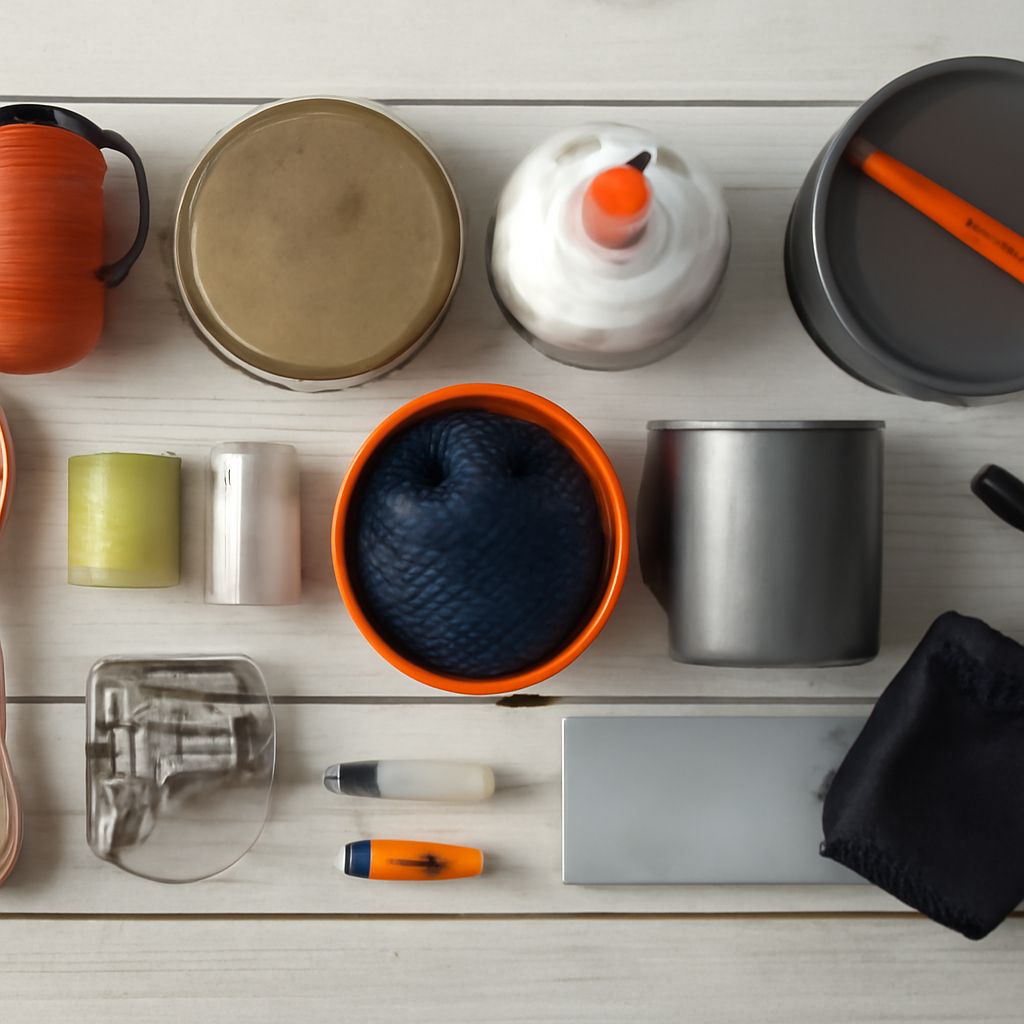
A useful backpacking cookset matches pot volume to the number of people and the menu. For boil-only meals, a pot of about 750–1,000 milliliters suits one person, 1.2–1.5 liters suits two, and 2–3 liters suits three or four. One-pot meals need additional headroom to stir without spilling, so choose the next size up. The stated volume is often the brim capacity; usable cooking volume is lower.
- Titanium: Very light and corrosion-resistant, best for boiling water. It has poor heat distribution, so thick sauces and direct cooking can scorch easily.
- Aluminum: Light, affordable, and better at spreading heat for oatmeal, pasta, or simple one-pot meals. It can dent more readily than steel.
- Stainless steel: Tough and suitable for direct cooking, but heavier. It works well for groups that value durability over minimum weight.
Check that the pot sits securely on the chosen stove. Canister stoves generally need a stable, flat pot base; remote-canister systems can support larger group pots. Alcohol and solid-fuel stoves may require a separate pot stand and windscreen. Confirm that the stove, fuel, lighter, and windscreen can nest inside or beside the cookset without crushing the pot handles.
For a dehydrated meal or instant noodles, one pot, lid, handles, and a spoon are enough. For oatmeal or coffee, a lid and one mug may be useful. A group cooking pasta, rice, or soup may need a larger pot, two utensils, and a separate bowl or mug for each person. Leave duplicate cups, pans, and bowls at home unless the menu genuinely requires them.