Learning how to pack a backpack for backpacking means reducing unnecessary weight before deciding where anything goes. A balanced load keeps dense items close to the back, soft items low, and frequently used items accessible without unpacking the entire bag.
The same method works for an overnight trip or a longer route: build a complete lightweight kit, organize it by system, load the backpack in layers, then take a short test walk before departure.
Build a lightweight hiking gear list
Keep every essential system covered
Start with a written list that covers each essential system. Lightweight equipment is useful only when it still supports shelter, sleep, cooking, food, water, clothing, navigation, hygiene, and safety.
- Shelter: tent or tarp, stakes, guylines, and a groundsheet if needed.
- Sleep: sleeping bag or quilt, sleeping pad, and sleep clothing.
- Cooking and food: stove, fuel, lighter, pot, utensils, meals, and a method for storing food securely.
- Water: bottles or a reservoir, filter or treatment, and enough capacity for the route’s longest dry section.
- Clothing: insulation, rain protection, spare socks, sun protection, and clothing appropriate for changing conditions.
- Navigation and safety: map, compass or charged navigation device, headlamp, first-aid supplies, repair tape, cord, and emergency communication if appropriate.
- Hygiene: toilet supplies, hand sanitizer, toothbrush, and any required medication.
Cut weight by removing duplicates and choosing multipurpose items
Weigh the complete list, including containers and fuel, then remove duplicate functions. A pot can serve as a bowl, a trekking pole can support some shelters, and a small repair kit can cover several equipment failures. Replace heavy packaging with labeled bags, choose the lightest reliable shelter and sleep system for the conditions, and carry clothing that layers rather than separate outfits. Do not reduce safety, warmth, water capacity, or weather protection simply to reach a target weight.
How to pack for a backpacking trip: Organize gear before loading
Lay every item on the floor and group it into systems before opening the backpack. Use a small, waterproof bag for sleep clothing, a protective liner or pack liner for gear that must stay dry, and separate bags for first aid, hygiene, and cooking items. Bags should improve protection or retrieval; excessive organizers add weight and make the load harder to compress.
Identify items needed while walking: water, snacks, map, phone, sunglasses, sunscreen, rain layer, insulation layer, and toilet supplies. Keep these together rather than burying them in a general clothing bag. Put camp-only systems, such as the sleeping bag and shelter, aside for the bottom of the pack. Keep fuel sealed and separated from food, and place sharp tools so they cannot puncture fabric or other equipment.
How to pack a backpack for backpacking: Place items by weight and access
- Bottom: Fill the lowest section with soft, lightweight items such as the sleeping bag, quilt, sleep clothing, spare clothing, or a compressible pillow. These items cushion the load and are usually needed only at camp. Avoid placing hard cookware or fuel at the bottom, where it can create pressure points.
- Core: Put dense equipment in the middle of the pack and close to the back panel. Food, cooking equipment, fuel, tent body, and other compact items belong here. A full water reservoir can sit against the back if the pack has an internal sleeve. Keep the weight centered from side to side and prevent empty spaces with soft clothing.
- Top: Place items needed soon after reaching camp or during a weather change above the core. Good choices include the shelter poles, rain jacket, warm layer, water filter, lunch, and a small repair kit. The top compartment should close without forcing the zipper or distorting the pack.
- Pockets: Use hip-belt and side pockets for small, frequent-use items such as snacks, sunscreen, a map, a water bottle, and navigation equipment. Keep both sides similar in weight so the pack does not pull sideways.
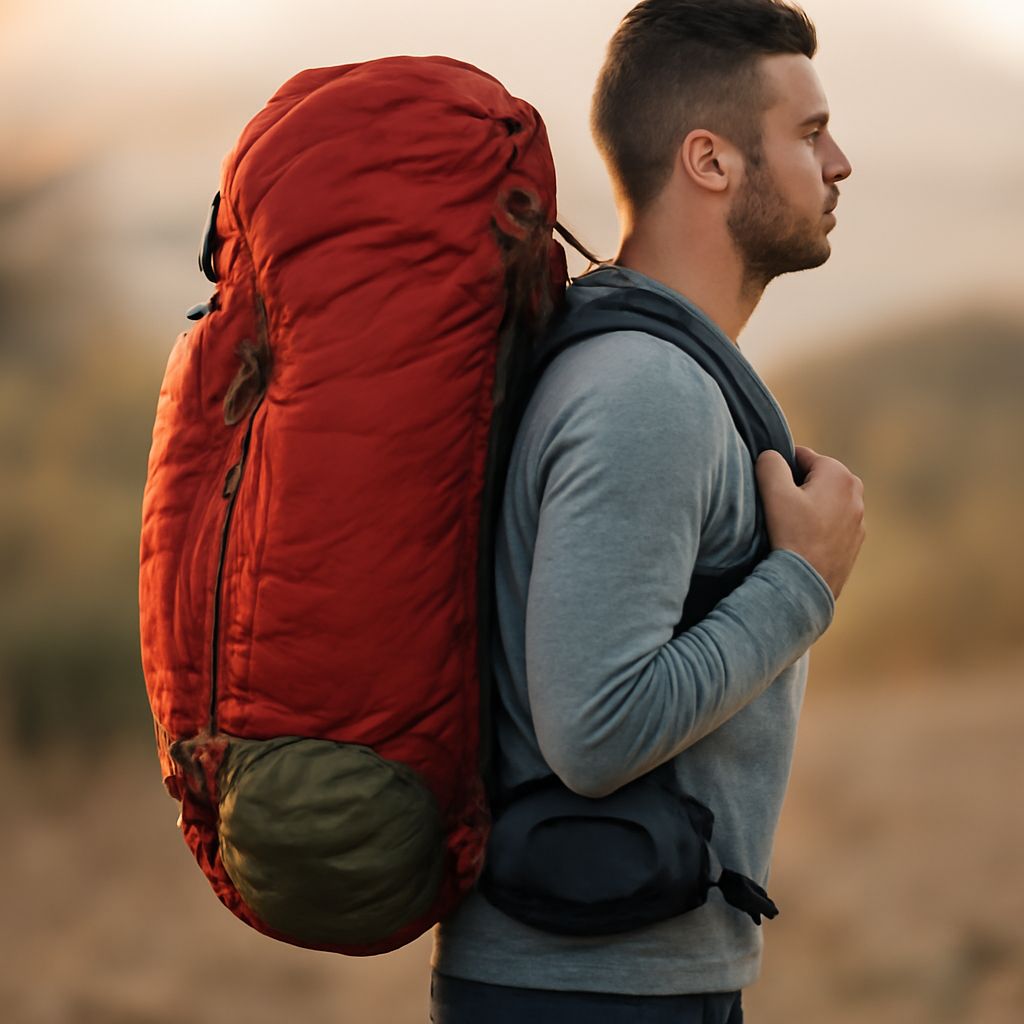
- Exterior: Use attachment points only for secure, purpose-built items, such as trekking poles when they are not in use or a wet shelter stored in a dedicated waterproof compartment. Do not attach dense or loose items outside when they can be carried securely inside; external gear can snag, swing, collect water, or shift the balance.
Keep the pack’s center of gravity close to the spine and avoid overfilling the top. The load should form a stable shape rather than a tall, lumpy column. A pack liner can protect the main compartment, while separate small bags make wet, dirty, or fuel-contaminated items easier to control.
Adjust, compress, and test the loaded pack
After loading, close the main compartment and tighten the compression straps from the bottom upward. Compression should hold items firmly without crushing food, bending equipment, or pulling the pack into a crooked shape. Check that the load remains centered when the side pockets are full.
Put the pack on with the hip belt resting over the hip bones, then tighten it until most of the weight transfers from the shoulders. Adjust the shoulder straps so they follow the body without gaps. Pull the load-lifter straps toward the shoulders until the upper pack sits close, then fasten the sternum strap lightly across the chest. It should stabilize the shoulder straps without restricting breathing.
Take a 15- to 20-minute test walk with the intended water and food load. Include stairs or a gentle slope if possible. A successful fit feels stable when bending, turning, and climbing, with no rubbing at the hips, pressure on the shoulders, or equipment shifting inside. If the pack pulls backward, move dense items closer to the back; if one side drops, redistribute the pockets. Repack or adjust any pressure point before starting the trip.