The alpine butterfly knot is an essential skill for hikers, climbers, and outdoor enthusiasts who need a secure and reliable loop in the middle of a rope. Known for its versatility and strength under load from multiple directions, this knot is a favorite for scenarios where safety and equipment integrity are critical. Learning how to tie the alpine butterfly knot correctly ensures dependable performance in situations like crevasse rescue, attaching gear, or setting up anchors. Below, each aspect of the knot is covered, from its definition and step-by-step tying method to typical mistakes and how it compares to other alpine knots.
What Is the Alpine Butterfly Knot?
The alpine butterfly knot, sometimes called simply the butterfly knot, is a midline knot that creates a secure loop anywhere along a rope. Unlike end-of-rope knots, the alpine butterfly knot is tied in the middle section, allowing for a strong, non-slipping loop that can take load in any direction. This property sets it apart from many other knots used in climbing and hiking, which often favor uni-directional load applications.
This knot is classified as a non-jamming knot, meaning it is relatively easy to untie even after being loaded heavily. The structure of the alpine butterfly knot distributes strain evenly, reducing rope wear and the risk of failure under dynamic loads. It is especially valued in alpine climbing, glacier travel, and rescue operations due to these attributes.
In practice, the alpine butterfly knot serves as a reliable loop for attaching carabiners, isolating damaged rope sections, or creating handholds and clip-in points. Its design makes it safer and more stable than many improvised loops, ensuring rope integrity in challenging environments.
While the terms “alpine butterfly knot” and “alpine knot” are sometimes used interchangeably, the former most commonly refers to this specific midline knot, while the latter may describe several knots used in alpine settings. Understanding this distinction is important for clarity and safety.
Step-by-Step Instructions for Tying the Alpine Butterfly Knot
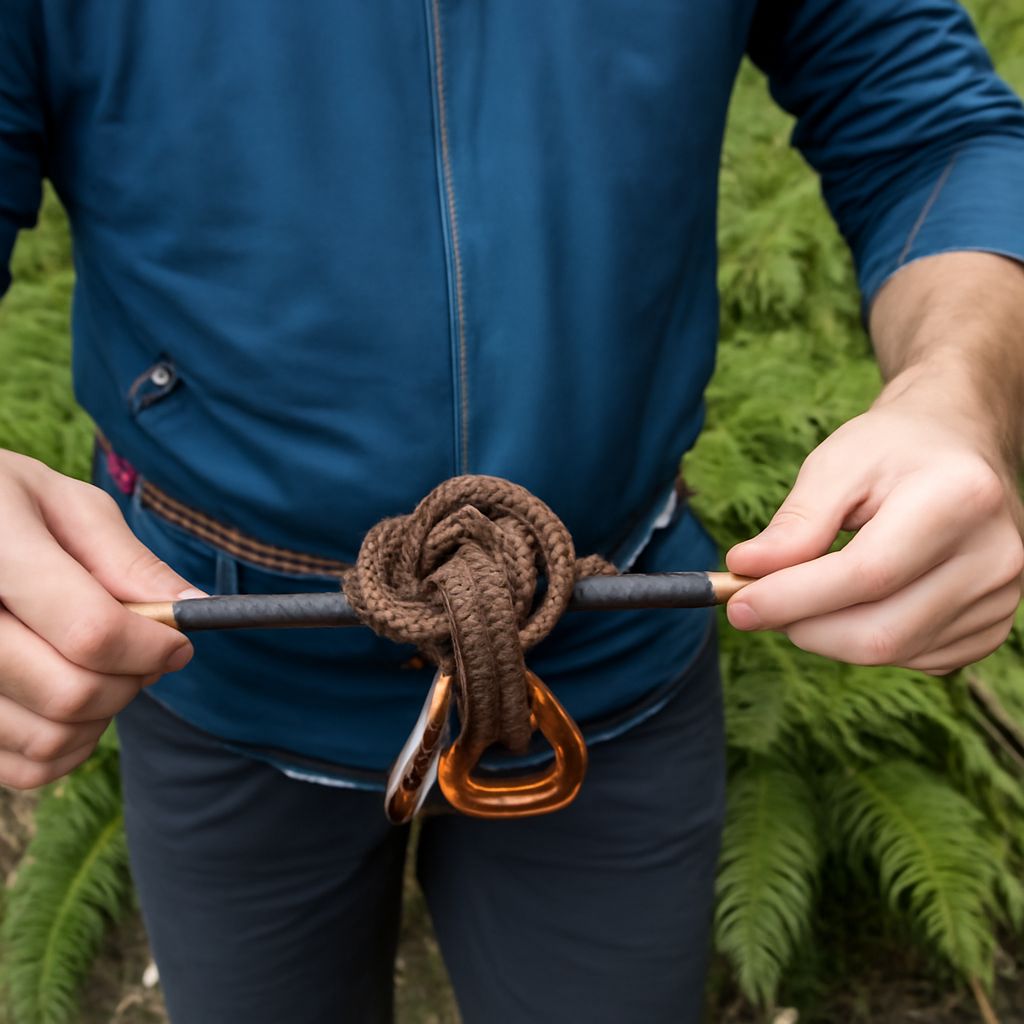
Mastering the alpine butterfly knot requires attention to detail and repeated practice. The following steps describe a commonly used method known as the “twist method,” widely favored for its simplicity:
- Form a Bight: Identify the section of rope where you want the loop. Grasp it with both hands and make a bight (U-shaped bend) in the rope.
- Wrap Around Your Hand: Loop the rope around your palm or three fingers three times, keeping the wraps flat and untwisted.
- Arrange the Wraps: Position the three wraps parallel to each other. The end closest to your fingertips is wrap one, the next is two, and the one closest to your wrist is three.
- Pull the Middle Wrap: With your other hand, take the middle (second) wrap and pull it up and over the other two wraps, then pass it behind and through the gap between your palm and the wraps.
- Set the Knot: Remove the wraps from your hand, and pull on the standing parts of the rope while adjusting the loop. The knot should cinch up neatly, with a prominent loop and no twists in the rope.
Alternative methods, such as the “loop and twist” or “folded rope” technique, are also effective. Whichever method is used, ensure the knot is symmetrical and the loop stands out prominently. Always dress the knot (arrange all parts neatly) before loading it, as a poorly set knot can compromise safety.
To check the knot, inspect that the loop is centered and both rope strands exit the knot cleanly on opposite sides. Practice tying and untying the alpine butterfly knot with gloves and in low-light conditions, as these scenarios often occur outdoors.
Uses and Advantages of the Alpine Butterfly Knot
The alpine butterfly knot is prized for its adaptability in hiking and outdoor settings. Its ability to create a fixed loop in the middle of a rope makes it ideal for:
- Attaching Multiple Climbers: When traveling as a roped team on glaciers, climbers can clip into the loop without affecting others on the line.
- Isolating Damaged Rope: If a rope shows abrasion or damage, the knot can be tied to bypass the weakened section, allowing continued use without cutting the rope.
- Creating Temporary Anchors: The loop serves as a secure point to attach gear, hang packs, or build makeshift anchors for hauling or belaying.
- Rescue Scenarios: In crevasse rescue, the loop offers a quick, strong attachment point for pulleys, carabiners, or haul systems.
Its main advantages include high strength under three-way loading, resistance to jamming, and ease of untying after being loaded. Unlike some knots that capsize when strained, the alpine butterfly knot maintains its integrity, which is critical during dynamic or shifting loads experienced in mountaineering and rescue operations.
Because it does not slip or deform easily, it is preferred when the direction of pull may change, such as in complex hauling systems or when multiple people use the same rope. Its reliability has made it a standard knot in professional guide training and outdoor education programs.
Common Mistakes and Tips for Reliable Knot-Tying
Despite its reliability, the alpine butterfly knot can fail or become difficult to untie if tied incorrectly. Several common mistakes should be avoided:
- Incorrect Dressing: Failing to align the rope strands neatly and symmetrically causes uneven loading, reducing knot strength.
- Twisted Loop: Allowing the loop to twist within the knot weakens its load-bearing capacity and can cause the knot to jam.
- Improper Placement: Tying the knot too close to another knot or anchor point limits its effectiveness and can make adjustments difficult.
- Inadequate Tightening: Not cinching the knot tightly before loading can result in slippage or deformation under stress.
To ensure a secure alpine butterfly knot, always dress the knot carefully, check for symmetry, and pull all four rope segments firmly to set it. Practice tying both with and without gloves, and repeat the process until the knot is consistent and easy to recognize. If working in cold or wet conditions, take extra care to dress the knot thoroughly, as stiff or icy rope makes errors harder to fix.
When using the knot in critical scenarios, double-check for twists and misalignments before trusting it with a load. Regular practice and inspection are the best ways to maintain proficiency and ensure safety in the field.
Comparing the Alpine Butterfly Knot to Other Alpine Knots
The alpine butterfly knot is often compared to other knots used in alpine and outdoor activities, such as the figure-eight on a bight, the clove hitch, and the overhand knot. While all serve important purposes, the alpine butterfly knot stands out for its midline application and resistance to directional loading.
For example, the figure-eight on a bight also creates a secure loop but is best suited for the end of a rope and can be difficult to untie after heavy loading. The clove hitch is excellent for adjustable anchors but lacks the fixed-loop strength and stability of the alpine butterfly knot. Overhand knots are simple to tie but are prone to jamming and are not as strong under multidirectional tension.
The term “alpine knot” may refer to a range of knots used in mountain environments, including the alpine butterfly knot itself. However, the alpine butterfly knot is specifically favored for situations where a strong, non-slipping midline loop is required. Its performance and ease of untying in adverse conditions make it the preferred choice for many outdoor professionals and enthusiasts.
Choosing the right knot for any situation depends on the specific demands of the activity, but for most midline loop requirements in hiking and climbing, the alpine butterfly knot remains unmatched in reliability and versatility.