A practical hiking packing list starts with functions, not individual products. Every item should carry, shelter, insulate, hydrate, navigate, feed, or protect the hiker. Select the lightest reliable item for each function, then add only comfort items that fit the route, forecast, and resupply plan.
The tent deserves special attention because it affects shelter, sleep, packed volume, and sometimes trekking-pole choice. Lightweight backpacking gear works best as a coordinated system rather than a collection of the lightest standalone items.
The Complete Hiking Packing List by Function
Carry, Shelter, and Sleep: Pack One Functioning System Each
Carry: Use a pack that fits the torso and holds the expected load without excessive frame weight. Add a liner or pack cover, and keep frequently used items in accessible pockets. A pack liner is often simpler and lighter than several small waterproof stuff sacks.
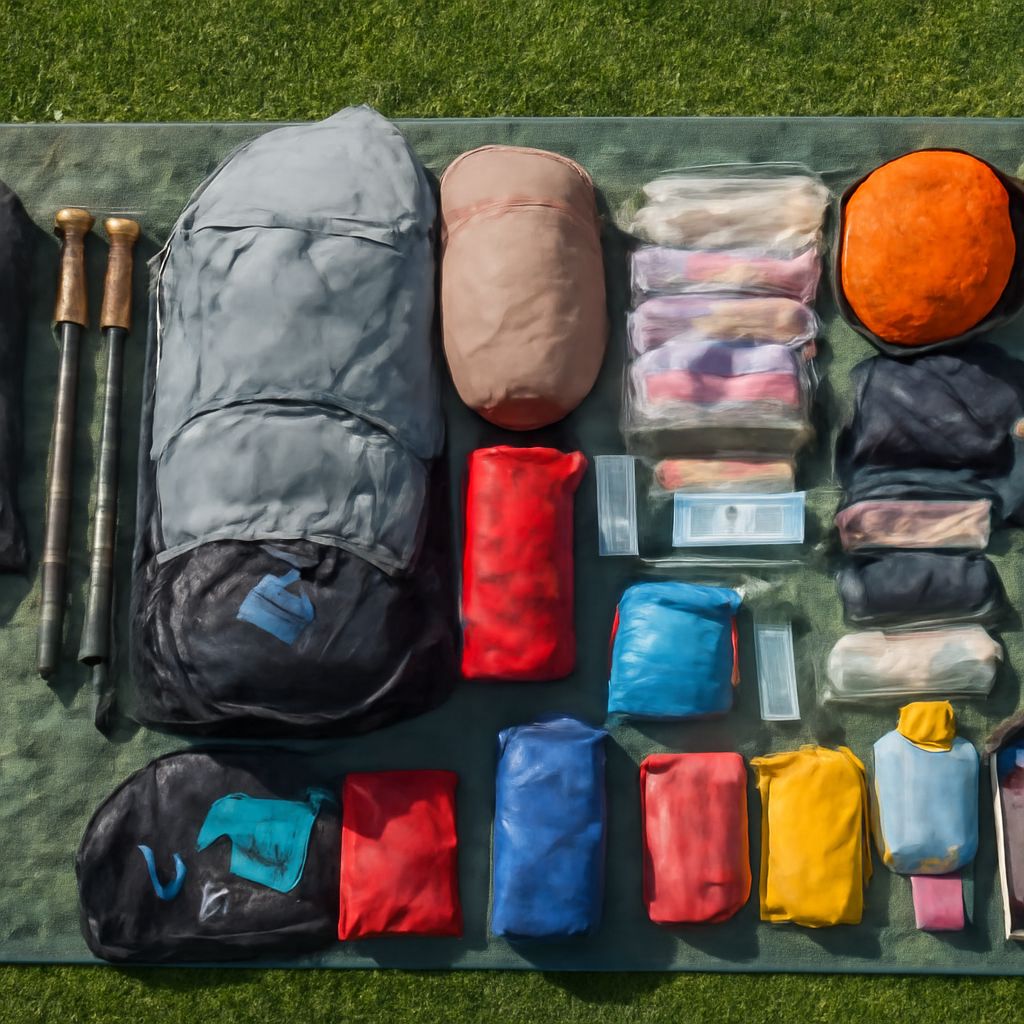
Shelter: Pack the tent, poles or trekking poles, stakes, guylines, and a groundsheet if the floor needs protection. The complete shelter system must remain usable in the forecast conditions; leaving out stakes or guylines saves little and can compromise the tent.
Sleep: Include a sleeping bag or quilt rated for the expected low temperature, an insulated sleeping pad, and an inflation sack or repair kit when required. The pad supplies insulation as well as comfort, so replacing it with clothing is not a true weight-saving substitute.
Clothing, Food, and Water: Set Limits Before Adding Comfort
Pack a worn clothing system suited to the forecast, plus a warm layer, rain shell, spare socks, underwear, sleep clothing if needed, gloves, and a hat. Wet-weather protection and insulation are route functions, not optional duplicates. Keep spare clothing limited to items that improve warmth, dryness, or foot care.
Food should match the trip length and resupply points, with meals, snacks, a stove, fuel, lighter, pot, spoon, and a small food bag or bear-resistant container where required. Water equipment includes bottles or a reservoir, a filter or treatment method, and enough carrying capacity for the longest dry section. Carrying two treatment methods may be justified in remote terrain, but not merely because both are convenient.
Navigation and Emergency Functions: Keep Route-Critical Backups
Carry a paper map, compass, and a phone or GPS device with offline maps and spare power. A digital device is convenient, but it should not be the only navigation method when batteries, signal, or weather may become problems.
Emergency equipment should cover first aid, blister care, repair tape, cord, a knife or multitool, headlamp, spare batteries or power, fire-starting equipment, whistle, and an emergency shelter or bivy when exposure is possible. Add permits, identification, communication equipment, and route-specific items such as traction, an ice axe, or bear spray. Check that the first-aid kit treats the injuries the route could realistically produce.
Choose Lightweight Backpacking Gear: Let the Tent Fit the Route
Lightweight Backpacking Tents: Compare Capacity, Protection, Setup, and Packed Weight
A solo tent is usually the lightest option for one person, but a two-person shelter can provide valuable room for a hiker and gear. Two people can also split the poles, body, fly, and stakes. A three-person tent may be sensible for two people in extended rain or when storing substantial equipment inside, but its additional packed weight must be justified.
Compare tents using the same measurement. Packed weight includes the tent body, fly, poles, stakes, guylines, stuff sacks, and repair parts; advertised minimum or trail weight may exclude some of these. Also compare packed volume because a small weight saving is less useful if the tent consumes the pack’s main compartment.
Protection depends on the route. A full-coverage fly, strong poles, secure stake points, and a bathtub floor suit sustained rain and wind. Mesh-heavy shelters improve ventilation and reduce condensation in warm conditions but may offer less protection in blowing rain or cold. Freestanding tents are easy to pitch on hard ground, while trekking-pole tents can reduce weight for hikers already carrying poles but require suitable stake placement and more precise setup.
Match Solo, Two-Person, and Weather Protection to the Route
Choose the smallest capacity that allows normal movement, wet gear management, and safe storage. For a dry summer route, low packed weight and ventilation may lead the decision. For exposed ridges, shoulder-season weather, or remote camps, stronger protection and a simpler storm setup can outweigh a modest weight increase. Practice pitching the chosen tent before departure, including its worst-weather configuration.
Reduce Duplication Without Losing a Route-Critical Function
Find True Duplicates Across Carry, Shelter, Sleep, and Clothing
Remove items that perform the same job without adding meaningful reliability. Examples include multiple stuff sacks, separate tent and pack rain covers when a liner protects the contents, several sleep shirts, or both a heavy camp towel and quick-drying clothing that can do the same small task. A phone camera can replace a separate camera, and trekking poles can serve as tent supports when the shelter is designed for them.
Do not treat different failure modes as duplication. A rain shell cannot replace insulation, a sleeping pad cannot replace a sleeping bag, and a tent footprint cannot replace an emergency shelter. Keep the repair materials, stakes, guylines, and tent pole splint needed to restore the shelter rather than relying on an improvised fix.
Preserve Independent Navigation, Water, and Emergency Backups
Keep navigation independent from the device most likely to lose power or become damaged. Likewise, retain a dependable water-treatment option and enough capacity for the route’s longest gap between sources. Emergency gear should remain available if the pack is separated, so a headlamp, insulation, first aid, communication method, and basic repair supplies should not be distributed in a way that leaves one person or one compartment without essential capability.
Check the Finished Load Before the Trailhead
Separate Base Weight From Food, Fuel, and Water
Weigh the pack in three parts: base weight for everything carried on every trip, food and fuel for the itinerary, and water for the next dry stretch. Water adds about 1 kilogram per liter, so a route requiring 3 liters can add roughly 3 kilograms before food is counted. Record the full departure weight as well as the base weight; the full figure determines how the pack actually feels.
Run a Loaded-Pack Test for Fit, Balance, and Access
Load the pack exactly as it will be carried, including the selected tent and consumables. Place dense items close to the back and centered between the shoulders, keep the shelter accessible, and check that water, rainwear, navigation, and emergency items can be reached without unpacking everything. Walk, climb stairs, and adjust the hip belt and shoulder straps. Pressure points, shifting gear, or an overloaded pack body are failure cues to fix before the trail.
Set a Go-or-No-Go Limit for the Route and Forecast
Set a maximum loaded weight and a minimum equipment standard before departure. If the forecast requires warmer sleep insulation, stronger shelter protection, traction, or extra water, add those route-critical items and remove comfort duplicates instead. The pack is ready when its weight, balance, and independent systems match the route rather than an idealized gear list.