You have a fallen branch from a yard cleanup and want to turn it into something worth keeping. If you want to shape your own walking stick with a knife, start with sound wood and a simple design. Walking stick carving rewards patience: a few shallow cuts give you more control than one deep slice.
This project makes a decorative walking stick. Wood of unknown strength can break under load, so use a properly fitted mobility aid if you need medical support. For a hike where stability matters, choose reliable trekking poles instead.
Choose and prepare the branch
Look for a reasonably straight, seasoned hardwood branch with no soft spots, deep cracks, insect holes, or signs of rot. Hickory, ash, and maple are examples of woods used for sticks, though the condition of an individual branch matters more than its name. Avoid wood you cannot identify if it irritates your skin, and follow local rules before collecting any branch.
Choose a piece a little longer than you need and roughly 1 to 1½ inches thick where your hand will hold it. Stand in your usual shoes with your arm relaxed and elbow slightly bent; mark a comfortable grip height. Leave extra length at both ends until the final fit. A slight curve can add character, but a sharp bend or large knot near the grip makes shaping harder.
If the branch is green, let it dry in a sheltered, airy place before finishing. Drying can take months, depending on its size and conditions. Check it periodically for cracks; discard it if splitting runs deeply into the wood. A dry branch may still change shape as humidity changes.
Carving walking sticks: Set up for controlled cuts
To learn the steps for shaping a walking stick, gather a sharp carving knife, a small hand saw, a clamp or vise with padded jaws, work gloves, eye protection, and sandpaper in several grits. A carving glove on the hand holding the wood adds protection, but keep that hand behind the cutting edge. Work in good light with a clear space around you.
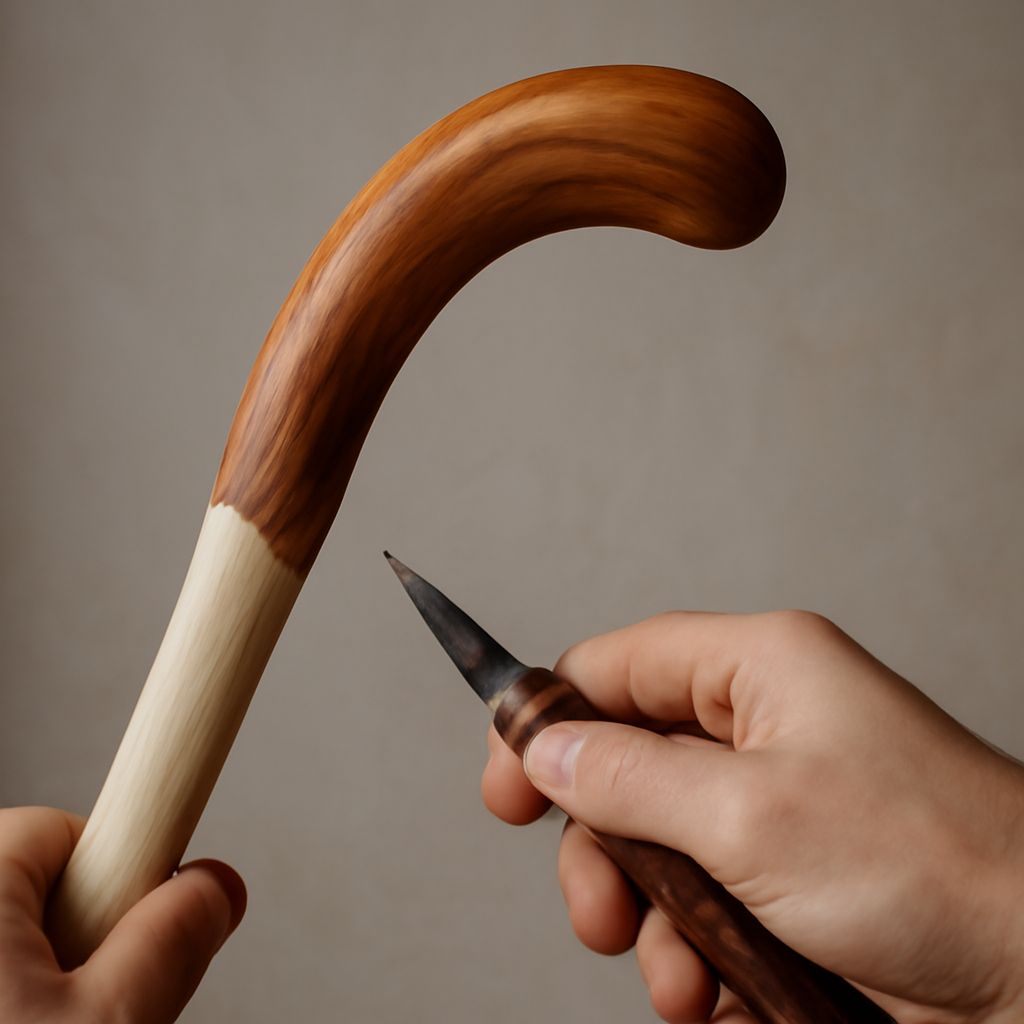
For carving walking sticks, secure the branch so it cannot roll. Take short, shallow cuts away from your body and hands. Follow the grain when possible; if the blade digs in or lifts a splinter, turn the branch and cut from the other direction. Never force a knife through a knot. Stop and reposition the work instead.
To remove bark, slip the blade under an edge and shave along the branch in thin strips. Keep the blade low and leave the underlying wood intact. You can retain a band of bark for contrast if it is firmly attached, but remove any loose pieces. Brush away dust and look again for flaws that the bark may have hidden.
Shape the grip and tip
Mark the top and bottom with a pencil. Before you cut the branch to length, hold it upright on a flat floor and check the grip mark again. Saw the top square, leaving a little material for rounding. Trim the bottom so it sits flat when the stick is held at a comfortable angle.
When deciding how to carve a walking stick, begin with the grip. Draw its limits, then shave high spots a little at a time. Round the top and soften the edges where your thumb and palm rest. Turn the stick often and hold it in your normal grip between cuts. Leave enough wood for a comfortable, substantial handle; a deep finger groove is difficult to undo and can weaken that area.
For the lower end, round the corners without carving a sharp point. If you want a rubber furniture or cane tip as a decorative end cap, measure the end and choose a snug-fitting size. Shape the wood gradually until the cap seats fully and straight. Remove the cap before finishing the wood, then refit it once the finish is dry. An end cap alone does not make an untested branch a dependable support.
Smooth and protect the wood
Start with about 80- or 120-grit sandpaper to remove knife ridges, then move to 180 and 220 grit for a smoother surface. Sand along the grain and wrap the paper around a small block for broad areas. Fold a piece for curves around the grip. Keep the shape even instead of sanding one spot until it hollows.
Run your fingers over the wood carefully and inspect it in angled light. Sand away raised fibers, sharp edges, and splinters. Brush or vacuum off the dust, then wipe the stick as directed by your finish’s label.
A clear exterior-rated finish can help protect the surface from moisture and handling. Apply it in a ventilated area, following the manufacturer’s directions for coats, drying time, and cleanup. Keep the coats thin so they do not pool around the grip. Allow the finish to cure as directed before handling the stick or fitting the end cap. Store finishing rags according to the product instructions; some oil-soaked rags can catch fire if left piled up.
Add a simple pattern
Once you know how to shape a walking stick, try a small ring pattern below the handle. Draw two pencil lines around the shaft, then add short diagonal marks between them. Secure the wood and make shallow cuts along the marks, working slowly and keeping the blade away from your fingers. Leave plenty of wood between the marks and avoid cutting deeply into the grip or shaft.
Before calling the project done, feel the entire surface for rough spots and hold the grip from several angles. Smooth anything that catches your hand. Test the decorative pattern on a scrap first, so you can see how the grain responds before cutting into the finished piece.