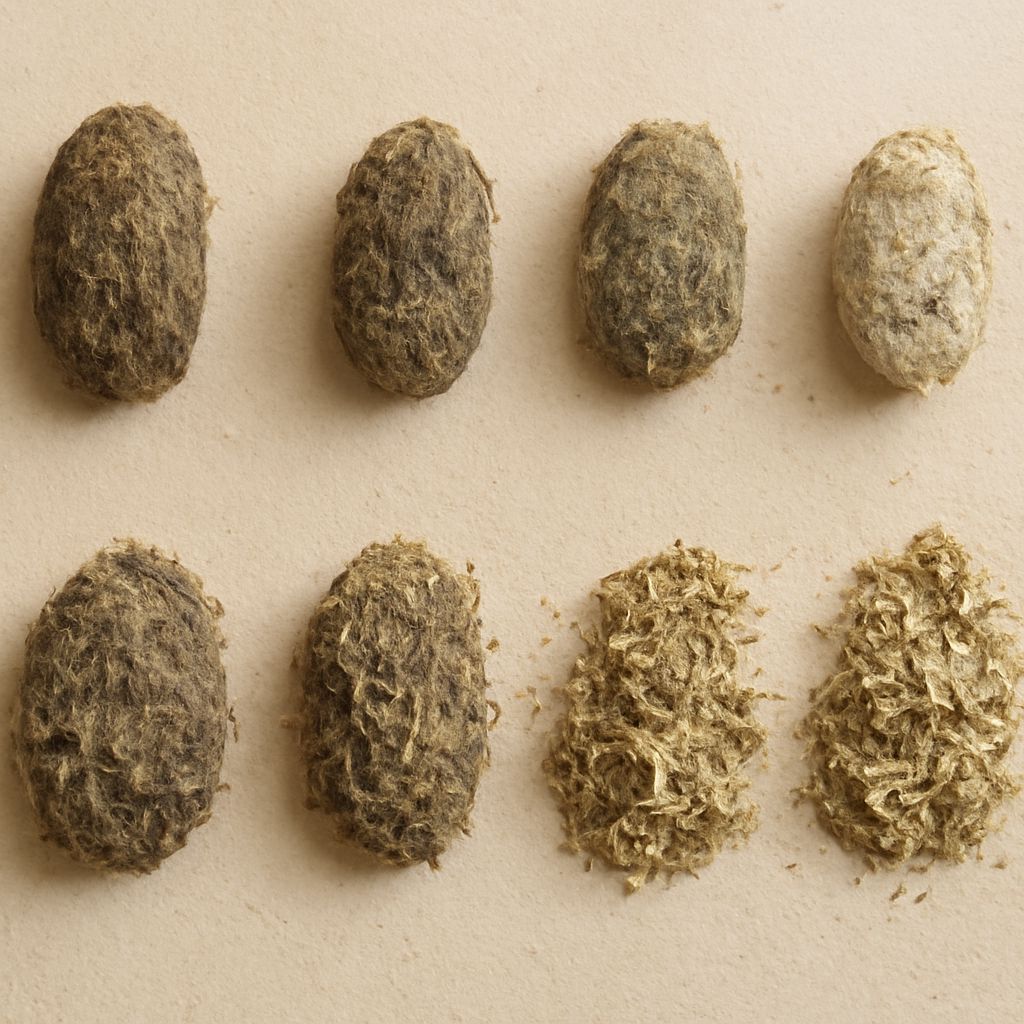
You can uncover tiny bones and use them to investigate what an owl ate, all without dissecting the bird itself. A prepared pellet from an owl is a compact bundle of the parts of a meal that the bird could not digest. If you are choosing an educational kit, look for treated owl pellets sold for classroom use, along with tools and a bone identification guide.
The activity connects a trail-side question—what is hunting here after dark?—with evidence you can examine at a table. A pellet does not tell you everything about an owl’s life, but it offers a useful starting point for a lesson about predators, prey, and food webs.
How a Pellet Forms
Owls may swallow small prey whole or in pieces. Digestible material passes through the digestive system, while some hard or fibrous material remains in the muscular stomach, often called the gizzard. There, bones, fur, feathers, and other indigestible bits can be compressed into a pellet. The owl later regurgitates it through its mouth.
That makes a pellet different from owl droppings, which leave the body through the cloaca as waste. The two may be found in the same general area, but they are not the same material. An owl pellet can look like a dark, fuzzy oval; its size and contents vary with the bird and its meals.
Not every bone survives intact. You might find a skull, jaw, teeth, ribs, or tiny limb bones, but also fragments that are hard to identify. Fur can conceal the smaller pieces. It is a bit like opening a very untidy parcel: the interesting parts are there, but they need careful sorting.
Owl Pellets for Sale: What to Look for in a Kit
Before you buy owl pellets, check that the package is intended for educational dissection and states how the specimens have been treated. The California Academy of Sciences notes that many classroom specimens are heat-sterilized; treatment is still a reason to follow the supplier’s handling and cleanup directions, not a reason to skip them.
Owl pellets for sale can differ in preparation and accompanying materials. Look at the entire kit, not just the number of specimens:
- Preparation: Look for clear heat-treatment information and individually packaged specimens. If the treatment is not stated, ask the supplier before ordering.
- Tools: Tweezers and a blunt probe help separate fur from small bones. A magnifying lens makes teeth and bone shapes easier to see.
- Identification materials: A bone chart or illustrated key helps you compare skulls, jaws, and limbs. Check that it suits the likely prey and source region.
- Group size: One specimen per person or pair allows time to handle the material. Confirm whether the kit includes enough tools, trays, and guides for the group.
- Instructions: Check the suggested age, adult supervision, cleanup steps, and whether the activity is designed for dry or wet examination.
Barn owl pellets are common in classroom kits, but their contents depend on where and when the bird hunted. A guide based on prey from one region may not identify every animal found elsewhere. If the kit does not state the source, ask; knowing it makes the comparison more useful.
Set Up a Clean Work Area
Choose a table away from food preparation and eating. Cover it with a disposable sheet or use a tray, and set out tweezers, a blunt probe, a hand lens, paper for sorted finds, and the identification chart. Keep a notebook nearby for observations.
Wash your hands before and after the activity. Avoid eating, drinking, and touching your face while handling the material. Follow the kit’s directions for gloves and cleanup, and supervise children as they use the tools. Pellets can contain animal fur, so consider allergies before starting.
Use a prepared educational specimen rather than picking one up on a hike. Material found outdoors has not necessarily been treated and may carry germs. On a nature trip, a photograph and a note about where you saw it can preserve the observation without disturbing the site or bringing a specimen into your workspace.
Open, Sort, and Identify
Allow about 30 to 45 minutes for the investigation; the California Academy suggests that range for a classroom dissection. Work slowly enough to keep small pieces from disappearing into the fur.
- Observe the outside. Note the shape, approximate size, color, and visible texture before opening the wrapping and examining the specimen.
- Separate gently. Place it on the tray and pull it apart with the probe and tweezers. Follow the kit instructions if they recommend moistening it.
- Sort the finds. Move bones and teeth onto clean paper. Group similar shapes and keep delicate skulls or jaws separate from fragments.
- Compare with the guide. Look for features such as tooth shape and jaw size. Record an identification as tentative if the piece is incomplete or the chart does not match.
- Count and record. Note the number of identifiable skulls or matching jaws, along with any uncertainty. Photograph or draw notable finds.
- Clean up. Dispose of remains as directed, clean the tools and surface, and wash your hands with soap and water.
Several skulls may indicate more than one prey animal, but fragments can be incomplete and bones from different animals may mix. A single specimen is a snapshot of what that bird consumed, not a complete census of its diet or a reliable picture of all wildlife in a forest.
For a different source of evidence, compare your notes with observations from a local guide or nature center. Do not assume that a commercial barn owl sample came from Panama, even if you are using it to prepare for a trip to the country’s mountains.
Choose a treated kit, observe before separating, sort gently, compare with the right guide, and finish by cleaning the work area and washing your hands.